To follow the correct steps for a macOS system, please see this article.
To double check the correct installation and configuration of the VocAlign Project 5 plug-in in a Windows system, please follow these steps:
Check whether you can see a file called VocALignProject5.vst3 in C:\Program Files\Common Files\VST3 in your PC.
If you cannot, please run the latest VocAlign Project 5 installer again - the latest VocAlign Project 5 installer is always available from the Synchro Arts Downloads page at https://www.synchroarts.com/downloads/
If you can (or after you ran the installer again) please check that directory C:\Program Files\Common Files\VST3 is included in the Locations list in your Studio One Options, by choosing Options > Locations > VST Plug-Ins so this window will appear: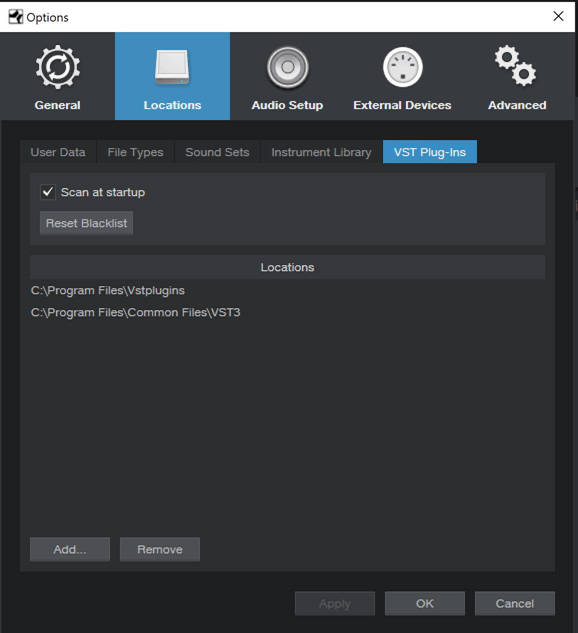
If you need to add directory C:\Program Files\Common Files\VST3 to the Locations list you can do so by:
- clicking the Add… button in your Studio One Options (shown above)
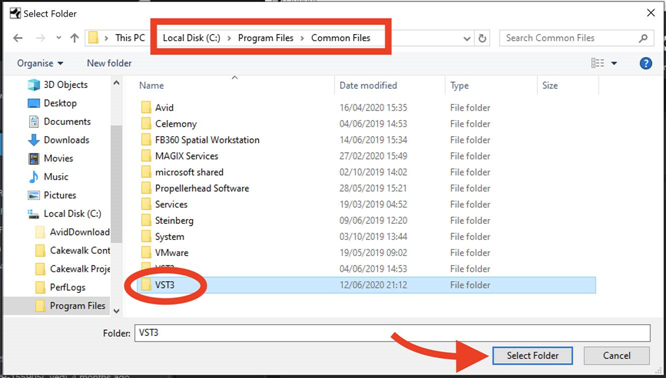
- navigating to C:\Program Files\Common Files in your PC (as show below)
- selecting VST3
- clicking the Select Folder button:
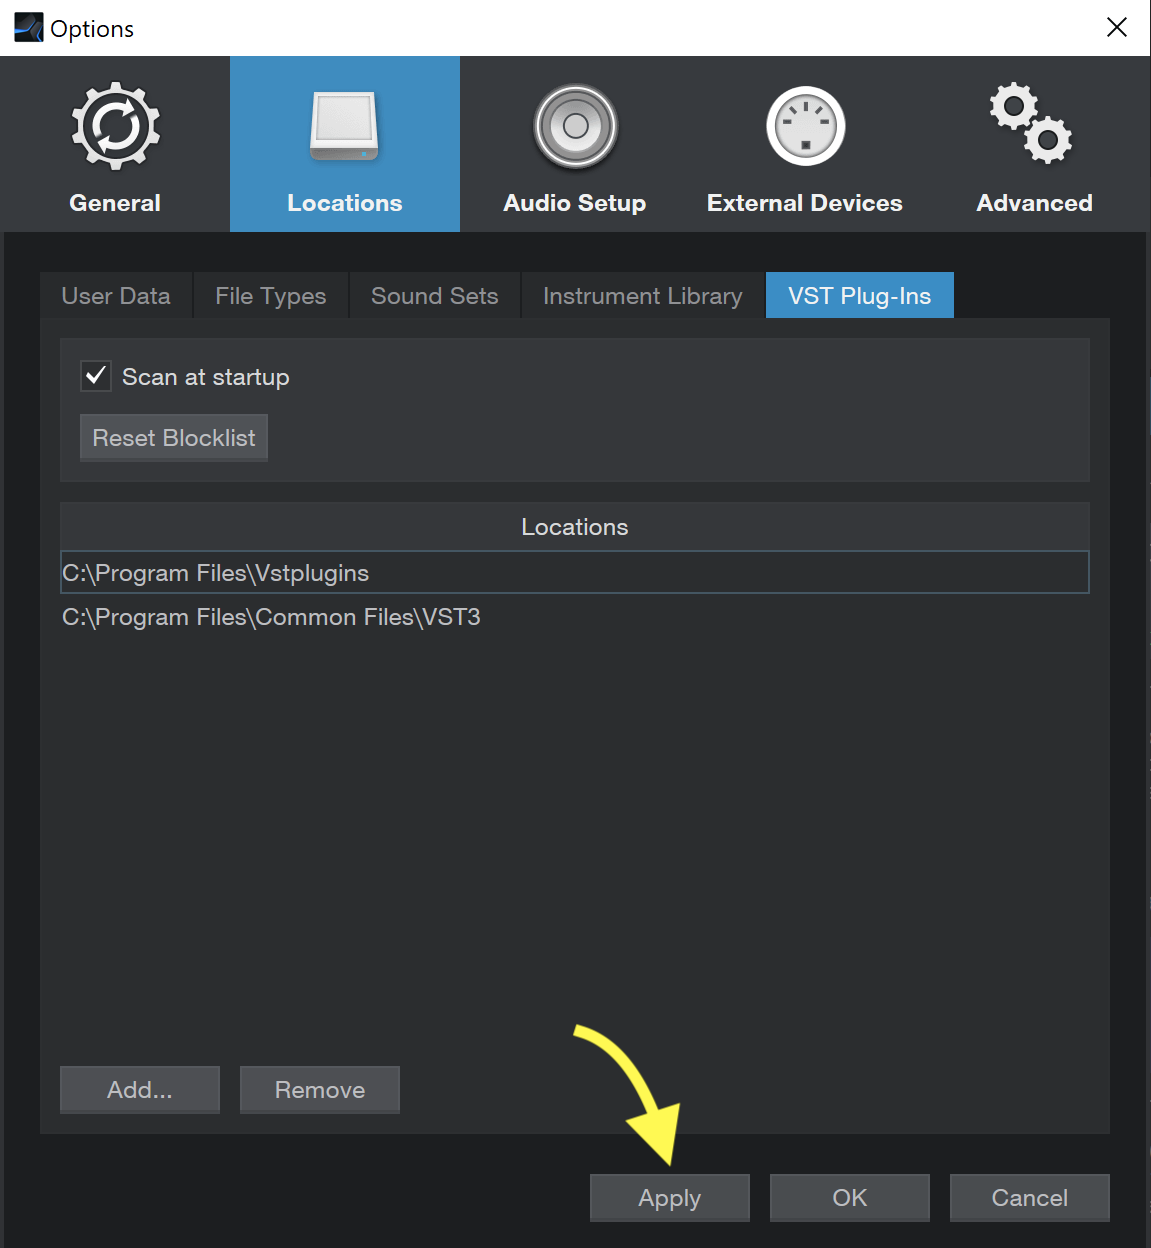
Once directory C:\Program Files\Common Files\VST3 appears in the Locations list in Options > Locations > VST Plug-Ins
you may click the Apply button:
You will see a scan flash quickly on your screen, then you may click the OK button to close the Options window: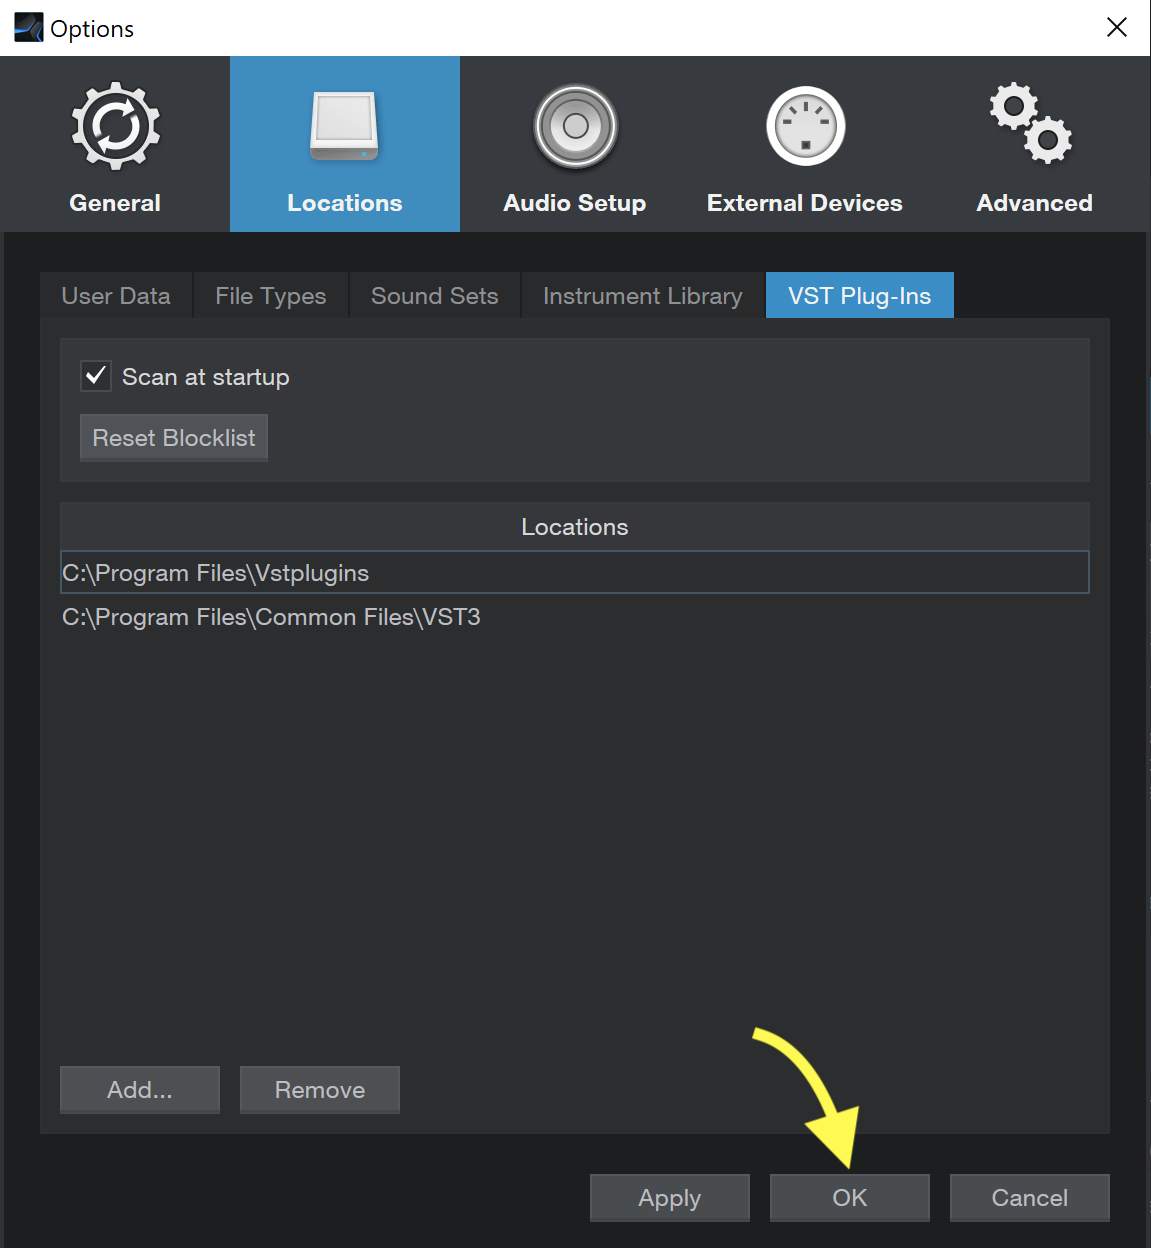
Finally, you need to open the Studio One Plug-In Manager (View > Plug-In Manager) and click the Remove Plug-In Settings button: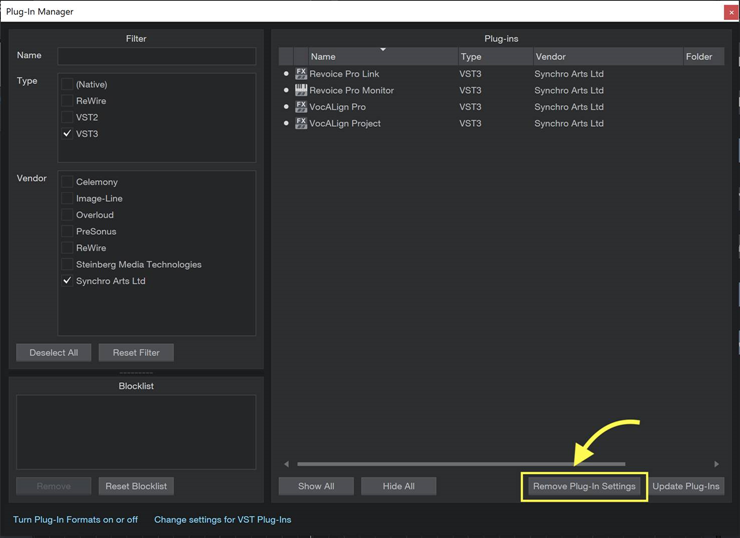
Click the Yes button in the next window to confirm:
And click the Yes button again in the next window, to restart Studio One: 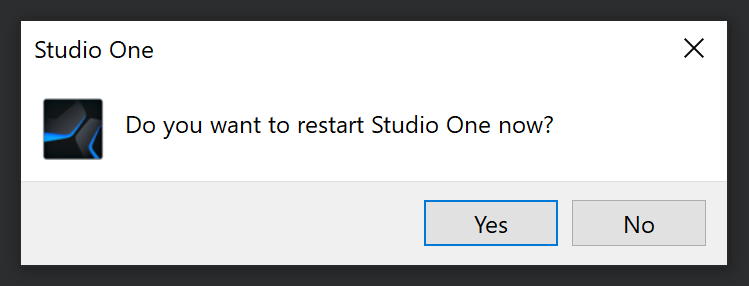
When Studio One will restart, you should find VocAlign Project 5 in your plug-ins.